
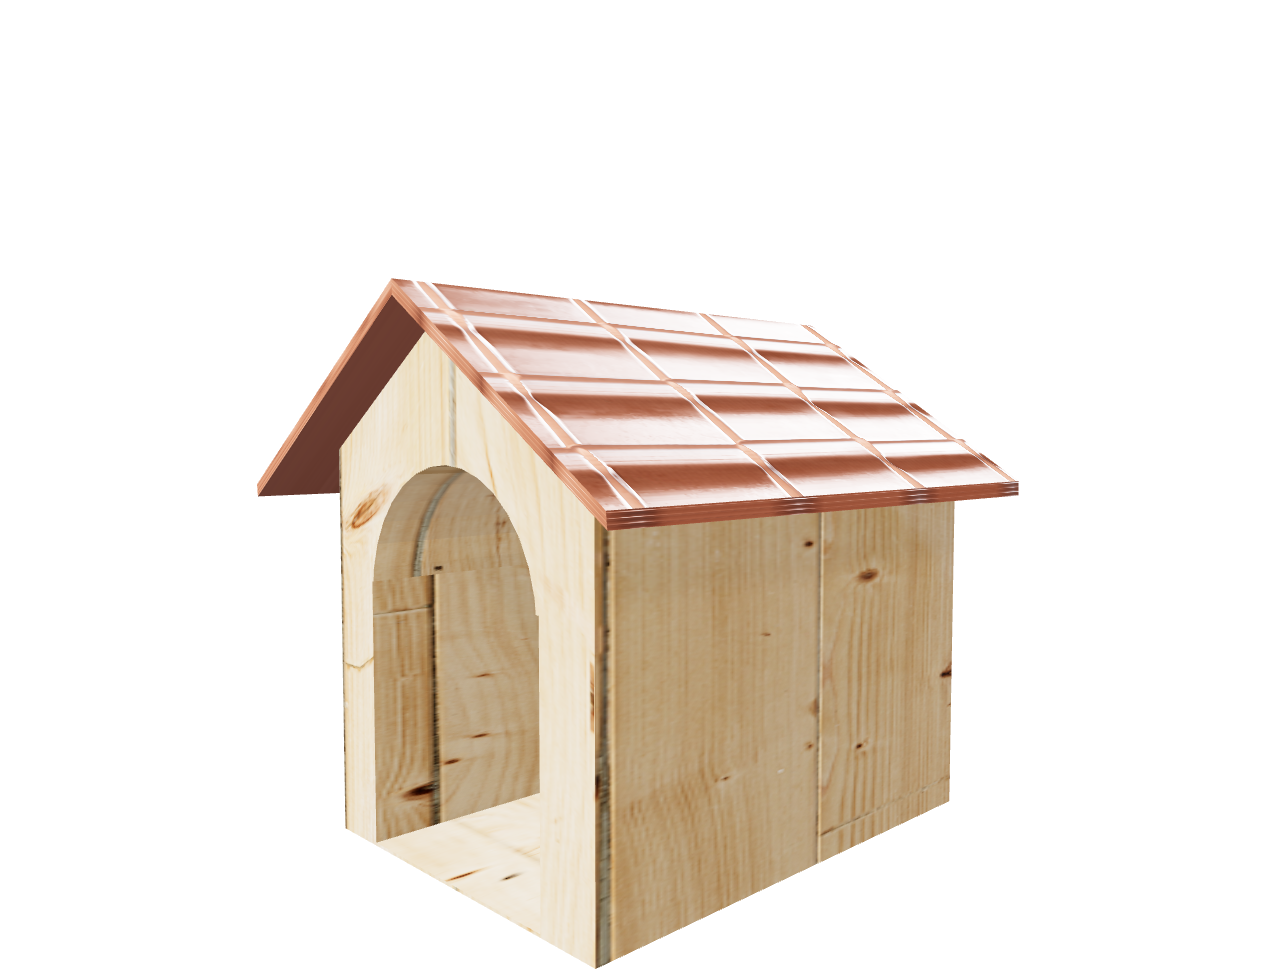
About a year ago I have started experimenting with various all kind of graphical stuff. From simply learning how to draw with pencils of varying hardness, to figuring out how to use digital tools like Krita or Inkscape. Recently I decided to give Blender a three dimensional try.
Project
I find that the best way to learn a tool is to try a simple project. For me, in honour of my Shetland sheepdog, I choose to create a virtual kennel. In my opinion it the perfect beginner’s task. It is more complex than a cube / cylinder variant but the geometry stays straightforward. Not every face is parallel, there are multiple objects, extruding to be done, …
Creating the objects
The first step was to turn the starting cube into a house shaped object using basic editing tools include the loop cut tool.
So far it is just a big bulky block, the desired kennel needs an opening. To create opening I created additional objects (one cylinder and one elongated cube) which I then used to extrude the original object using a boolean modifier. Basically I cut a hole. Finally I added a second object to be the roof, which I placed on the first object using snapping.
Adding textures
The next step is to add textures to the two objects. I choose to make the base wooden, and use red roof tiles for the roof. I downloaded the assets from https://ambientcg.com/.
Applying textures is quite straightforward. It is mostly drag and dropping texture files into Blender and connecting the different boxes appropriately. It is almost as simple as putting the red wire into the red socket, blue wire into the blue socket once you understand the purpose of various files.
Applying a texture is not just mapping an image to a 3D structure. There are other files like normal mapping which will fake bumps and dents in the lightning without adding details to the object.
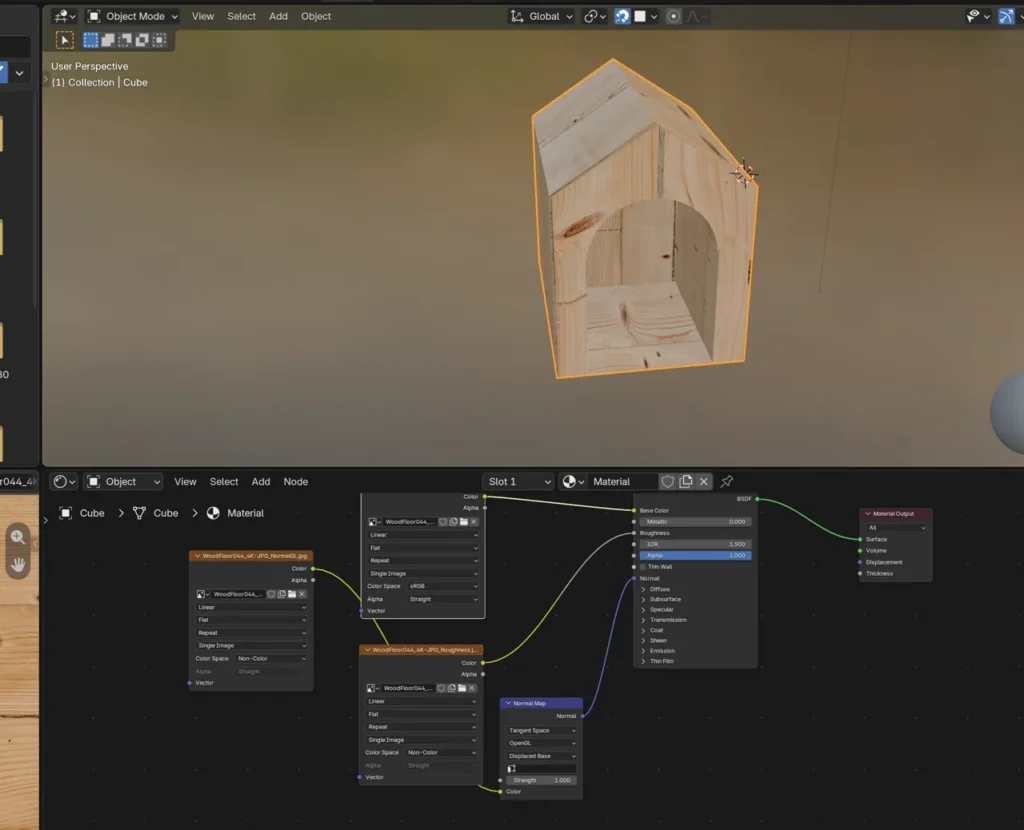
Texture mapping doesn’t always work on the first try. The roof for instance was stretched.
Fixing textures through UV unwrapping
The roof looks just wrong. That is because when mapping the texture to the roof, the right side has a large chunk of the image but the left gets a small chunk which ends up being stretched.
The reason for that is how texture is mapped onto the object. This process is called UV unwrapping. To fix the unwrapping I identified the face that was squashed and stretched it out.
Finally this fixes the unwrapping and how the texture looks
Publishing to the web
To export my asset I decided to create a GLB file to then incorporate into a web friendly tool. The challenge here is to avoid huge web unfriendly files. To achieve this I used compression (in my case draco compression) and updated my textures 1K formats instead of 4K. On more complex models there is more to do (see https://docs.blender.org/manual/en/latest/addons/scene_gltf2.html). Here is the result :